HOME
/
Exterior Waterproofing Services
Stop Basement Leaks at the Source - Before Water Gets Through the Wall
Water in your basement is more than an inconvenience. One heavy rain can turn a small damp spot into standing water, damaged drywall, ruined flooring, mold growth, and a repair bill you never planned for.
If groundwater is pushing against your foundation from the outside, the most direct fix is to stop that water before it enters the wall.
That means excavating the affected foundation, repairing cracks and weak joints, installing a proper exterior waterproofing membrane, improving drainage, and protecting the finished system with a drainage board.
Interior paint, patching compounds, and surface sealers may hide a leak temporarily. They don't remove the water pressure outside your foundation.
Exterior waterproofing attacks the problem where it starts. .
Why Foundation Is Leaking: Hydrostatic Pressure
Water doesn't need a large opening to get into a basement.
After prolonged rain or snowmelt, groundwater can collect in the soil surrounding your foundation. As that water builds up, it creates hydrostatic pressure against the concrete wall.
Think of it as thousands of litres of water pressing against the same surface.
Concrete is strong, but it isn't perfectly waterproof. Small cracks, porous sections, construction joints, wall-to-footing seams, and poorly sealed penetrations can become pathways for water.
Once water finds that path, pressure keeps pushing it inward.
That's why an interior coating often fails.
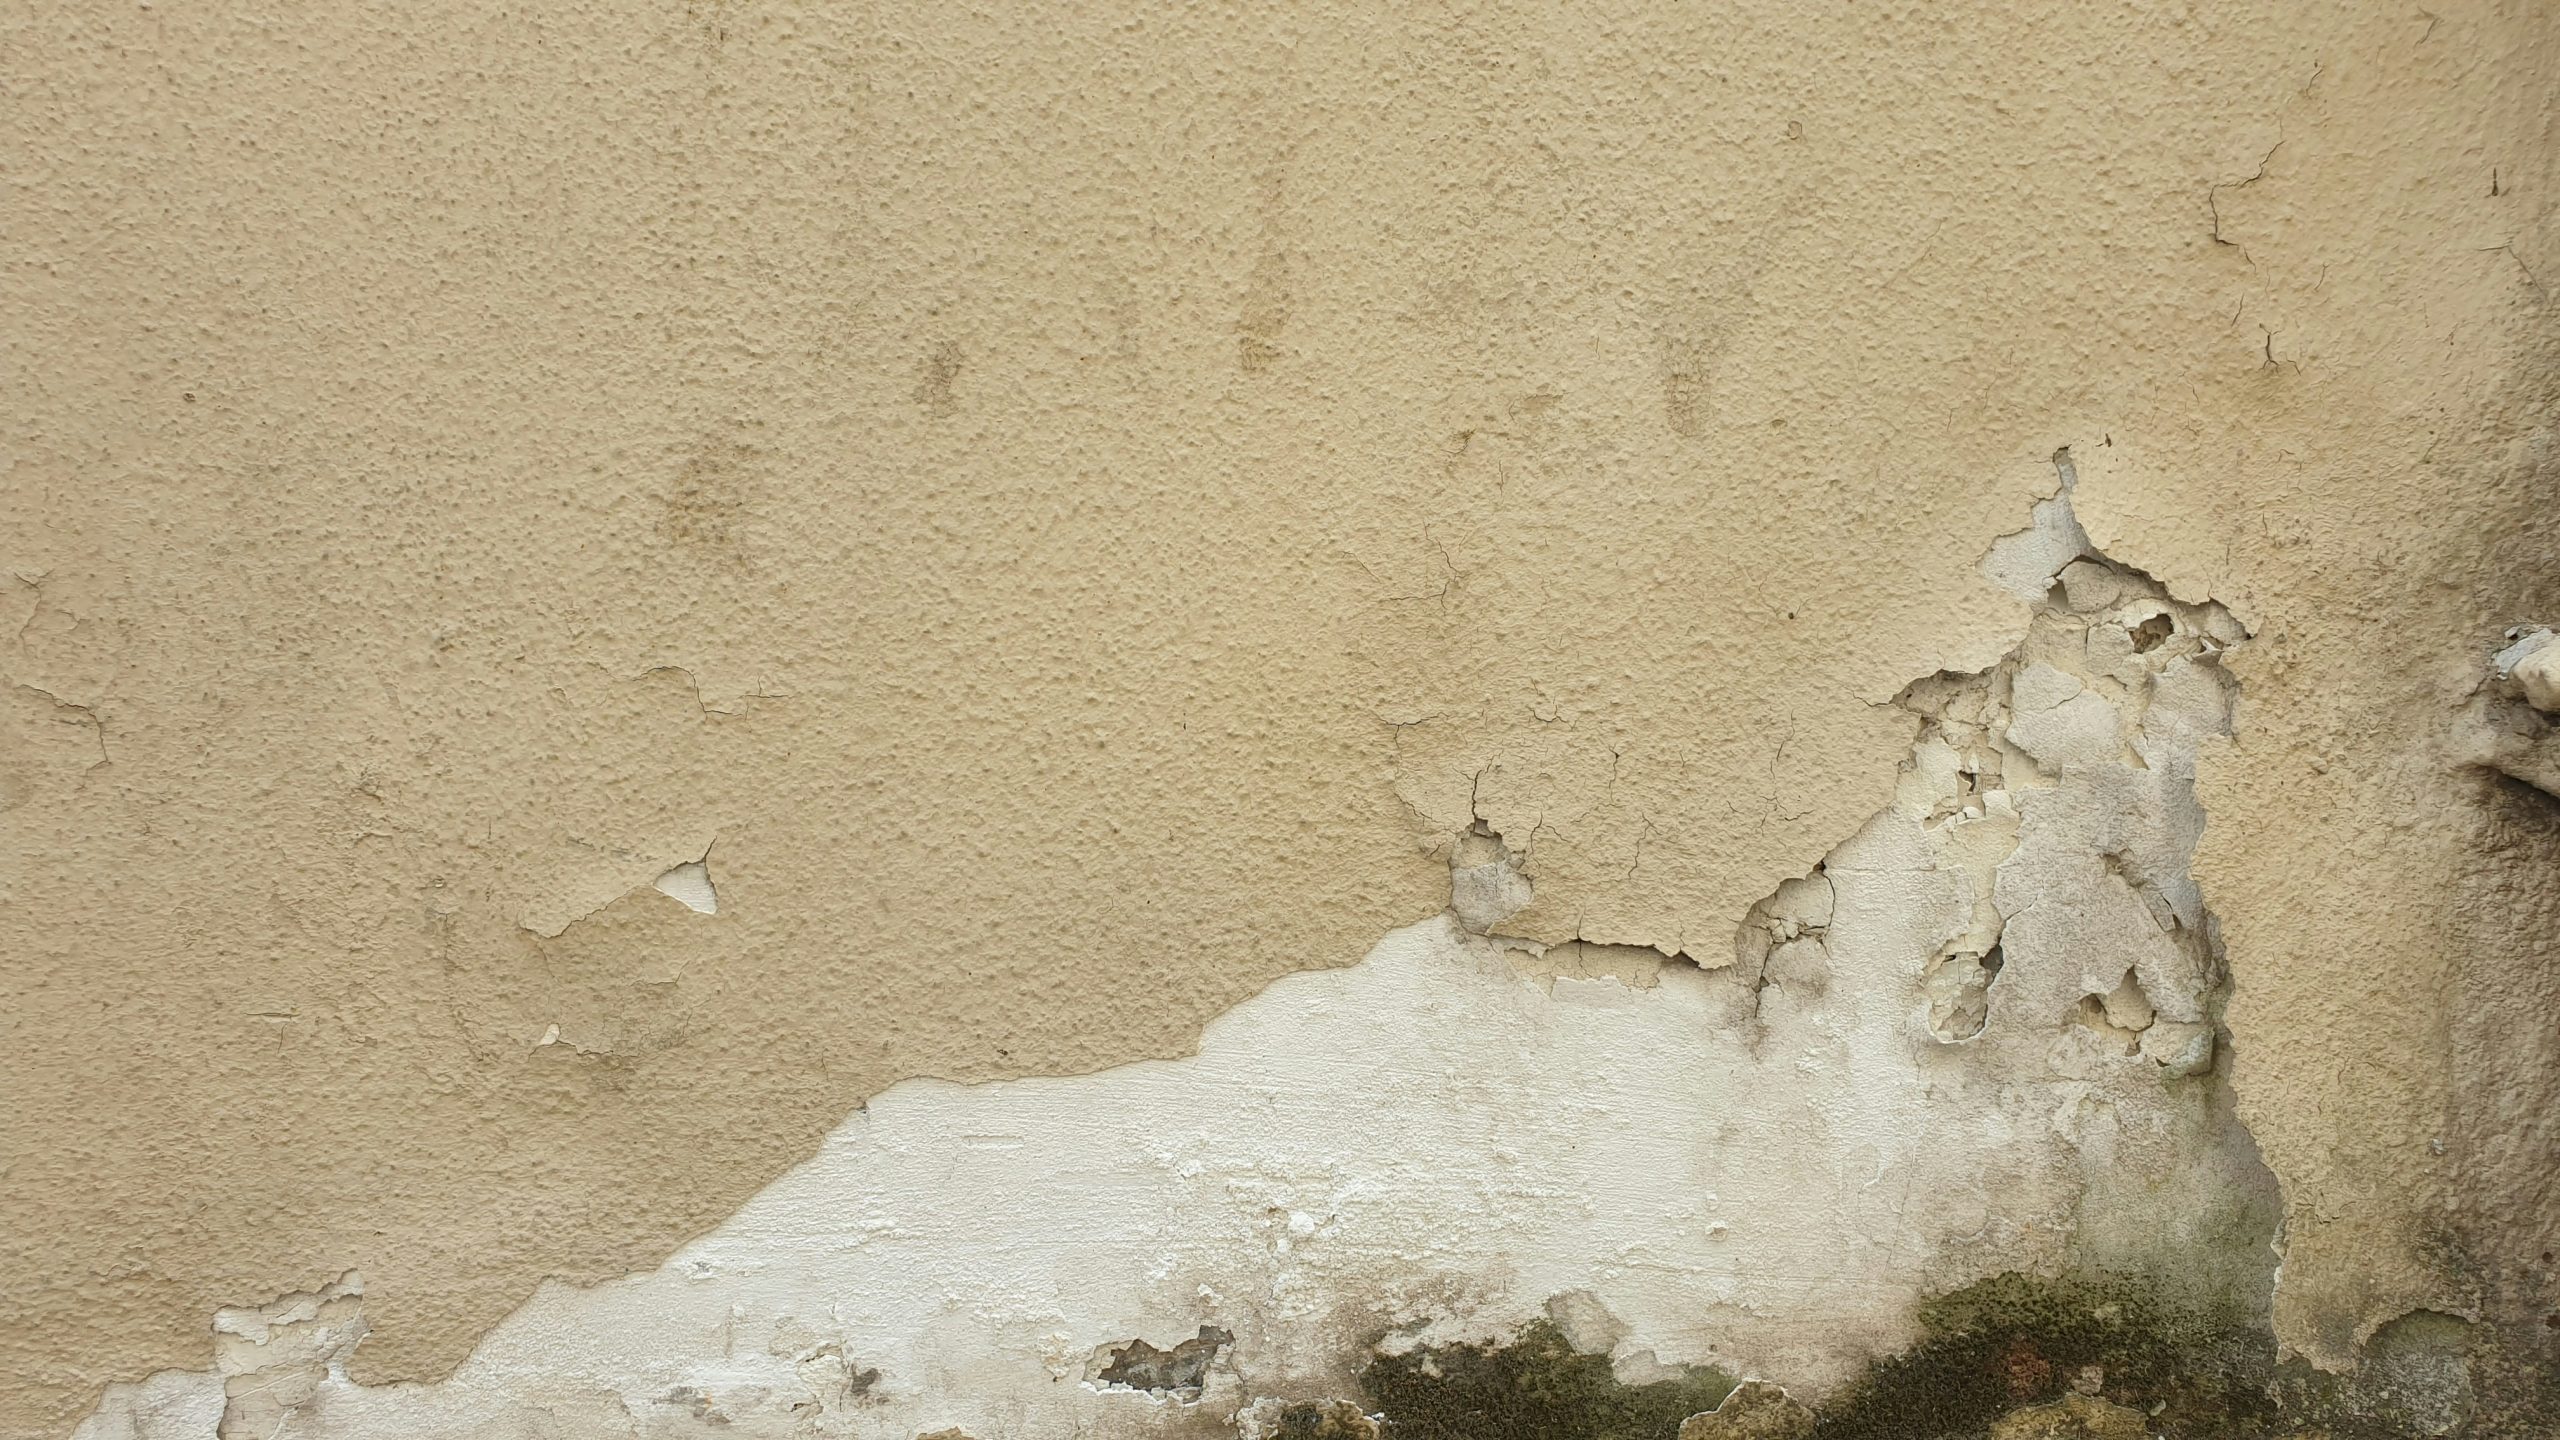
You can paint over a damp wall, but the groundwater is still on the other side of it. Moisture and pressure continue to attack the coating until it blisters, peels, cracks, or separates from the concrete.
The lasting approach is to expose the exterior wall, repair the entry points, waterproof the foundation from the outside, and give groundwater a controlled drainage path.
Your Soil Is Working Against Your Foundation
The ground around your house isn't static.
Clay Soil Expands and Shrinks
Clay-heavy soil absorbs water and expands. During dry weather, it loses moisture and contracts.
That repeated movement can place physical stress on foundation walls.
Over years, this movement can contribute to:
New foundation cracks
Widening existing cracks
Separation around joints
Pressure around window wells
Water entering through wall-to-footing transitions
Freeze-Thaw Cycles Make Small Problems Worse
In cold climates, water enters tiny cracks and freezes.
Frozen water expands.
When temperatures rise, the ice melts. The process repeats.
A hairline defect can gradually become a larger opening capable of allowing significant water into the basement.
Then add seasonal downpours, saturated soil, blocked drainage, and overflowing gutters and a basement that stayed dry for years can suddenly start flooding.
5 Warning Signs Your Foundation May Be Taking on Water
Don't wait for several inches of standing water before investigating.
Look for these early warning signs:
White powdery residue on basement walls - often called efflorescence, caused by dissolved minerals being carried through masonry by moisture.
Peeling or bubbling interior paint - moisture may be pushing through the wall from outside.
Diagonal cracks in concrete - especially when cracks are growing or accompanied by moisture.
Musty basement smells - persistent dampness can create the conditions for mold and mildew.
Damp drywall or baseboards - particularly after rainfall.
A basement doesn't have to look flooded to have a foundation water problem.
Sometimes the wall tells you what's happening long before the floor does.
Where Exterior Foundation Leaks Actually Start
Water can enter through several different points around a foundation.
Foundation Cracks
Vertical and diagonal cracks can become direct pathways for groundwater. Repairing the visible interior side without addressing exterior water pressure leaves the underlying cause untouched.
Window Wells
A window well can collect rainwater and groundwater like a bucket.
If the drain is clogged, missing, or overwhelmed, water can rise against the basement window and surrounding foundation.
Crumbling Brick Mortar Joints
Older masonry foundations can develop deteriorated mortar joints. Once the mortar becomes porous or begins breaking apart, water can work through the wall.
Wall to Footing Seam
The joint where the foundation wall meets the footing is another common entry point. Water can travel through this transition and appear along the basement floor.
Unsealed Sills and Penetrations
Pipe penetrations, utility entries, sill areas, and other openings can become weak points when seals deteriorate.
The visible puddle inside your basement may be several feet away from the actual point where water entered the foundation.
That's why proper diagnosis matters.
| Our Services | Our Locations | Our Specific Areas |
|---|---|---|
| Basement Waterproofing | Ancaster, Burlington, Dundas, Stoney Creek, Oakville, Hamilton | Ancaster, Burlington, Dundas, Stoney Creek, Oakville, Hamilton |
| Exterior Waterproofing | Ancaster, Burlington, Dundas, Stoney Creek, Oakville, Hamilton | Ancaster, Burlington, Dundas, Stoney Creek, Oakville, Hamilton |
| Interior Waterproofing | Ancaster, Burlington, Dundas, Stoney Creek, Oakville, Hamilton | Ancaster, Burlington, Dundas, Stoney Creek, Oakville, Hamilton |
| Foundation Crack Repair | Ancaster, Burlington, Dundas, Stoney Creek, Oakville, Hamilton | Ancaster, Burlington, Dundas, Stoney Creek, Oakville, Hamilton |
| Sump Pump Installation | Ancaster, Burlington, Dundas, Stoney Creek, Oakville, Hamilton | Ancaster, Burlington, Dundas, Stoney Creek, Oakville, Hamilton |
Damp-Proofing vs. Exterior Waterproofing
Not every black coating on a foundation is a waterproofing system.
Builder-grade damp-proofing is designed primarily to reduce moisture transmission through masonry. It isn't the same as a properly detailed exterior waterproofing system designed to handle hydrostatic pressure and direct water toward drainage.
| Feature | Basic Damp-Proofing | Exterior Waterproofing |
|---|---|---|
| Primary Purpose | Reduce soil moisture penetration | Stop water before it reaches the foundation |
| Typical Application | Thin asphaltic coating | Heavy-duty rubberized waterproofing membrane |
| Crack Treatment | Limited | Cracks and weak points repaired before membrane |
| Drainage Protection | Often limited or absent | Dimpled drainage board |
| Water Management | Relies heavily on surrounding soil | Waterproofing + controlled drainage |
| Expected Performance | Can deteriorate as conditions change | Designed as a complete exterior water-management system |
| Long-Term Protection | Often requires future attention | Built for long-term foundation protection |
Cheap coating is not the same thing as a waterproofing system.
If the original damp proofing has deteriorated after years underground, simply spraying or rolling another thin layer over the problem may not address cracks, drainage, failed joints, or damaged materials underneath.
Interior vs. Exterior Waterproofing: Which One Do You Need?
There is a place for interior waterproofing.
But it is important to understand what each method actually does.
Exterior waterproofing stops groundwater before it enters the foundation.
It’s generally the better choice when you have:
Active foundation wall leaks
Exterior foundation cracks
Deteriorated waterproofing
Significant hydrostatic pressure
Water entering through the wall
Repeated leakage after heavy rainfall
Problems that require exterior crack and membrane repair
Interior systems manage water after it has reached the foundation.
Depending on the building and water problem, an interior system may use drainage channels, sump pumps, interior membranes, or other water-management methods.
Interior waterproofing can make sense when exterior excavation isn’t practical because of adjacent structures, property constraints, access, or the specific construction of the building.
But if the objective is to prevent groundwater from contacting the foundation wall in the first place, exterior waterproofing addresses that point of entry directly.
Our 10-Step Exterior Waterproofing Process
A professional exterior waterproofing job isn't simply digging a trench and painting the wall black.
The system has to be installed in the right sequence.
- 0 1
We excavate the soil along the affected foundation section until the wall and relevant footing area are accessible.
The excavation depth and length depend on the foundation design, leak location, grade, and site conditions.
The goal is to expose the actual problem instead of guessing from inside the basement.
- 0 2
Deep excavation creates serious hazards.
Where required by site conditions and applicable regulations, trench protection, shoring, sloping, or other approved protective measures are used.
No waterproofing job is worth taking unnecessary excavation risks.
- 0 3
Where the existing drainage system is damaged, blocked, inadequate, or being replaced as part of the repair, old drain tile can be removed and replaced with a 4-inch perforated drainage pipe.
The pipe provides a controlled route for collected groundwater to move away from the foundation toward the appropriate drainage system.
- 0 4
The exposed wall is cleaned to remove loose material, dirt, deteriorated coatings, and contaminants.
Foundation cracks and defects are then repaired using appropriate materials such as hydraulic cement where suitable.
The objective is a solid, properly prepared surface before membrane installation.
- 0 5
A heavy-duty rubberized/asphalt-rubber waterproofing membrane is applied across the prepared exterior wall.
This forms the primary waterproof barrier.
Coverage, thickness, and application method should follow the manufacturer’s specifications and the conditions of the foundation.
- 0 6
Fiberglass reinforcement mesh can be incorporated into the waterproofing assembly at appropriate areas to reinforce the membrane system.
It is particularly useful where additional reinforcement is specified around repaired cracks, transitions, or other vulnerable sections.
- 0 7
A second membrane layer is applied to complete the waterproofing assembly.
Two properly applied membrane layers provide far more protection than relying on a single thin coating.
The final system should have continuous coverage with careful attention to corners, seams, penetrations, repaired cracks, and transitions.
- 0 8
A dimpled drainage board is installed over the waterproofed foundation.
It performs two jobs:
- Protects the waterproofing membrane from damage during backfilling.
- Creates drainage channels that help groundwater move downward toward the drainage system.
The waterproofing membrane shouldn’t be left exposed to rocks and backfill equipment.
- 0 9
Appropriate 3/4-inch clear crushed gravel is placed around the drainage assembly as specified for the system.
The open structure of suitable clear stone allows water to move toward the perforated drainage pipe rather than remaining trapped against the foundation.
- 10
The excavation is backfilled with suitable soil in controlled lifts where appropriate.
Compaction helps reduce excessive settlement.
The final grade should direct surface water away from the foundation, not back toward it.
The work area is then cleaned and restored as far as practical.
Exterior Waterproofing Materials
The membrane is only one part of the system.
A high-quality asphalt-rubber membrane creates the primary barrier between groundwater and the foundation wall.
It needs to be compatible with the substrate, properly applied, and installed at the manufacturer’s specified coverage.
The drainage board protects the membrane and creates a drainage plane.
Without physical protection, backfill can damage even a properly installed membrane.
Filter fabric helps prevent soil fines from migrating into drainage components where the system design calls for it.
A drainage pipe that gradually fills with sediment cannot perform properly.
Hydraulic cement is useful for repairing suitable active water pathways and certain cracks or penetrations because it sets in the presence of water.
But it isn’t a substitute for exterior waterproofing.
Patch the defect. Waterproof the wall. Drain the water. Protect the system.
That’s the complete approach.
Hydraulic cement is useful for repairing suitable active water pathways and certain cracks or penetrations because it sets in the presence of water.
But it isn’t a substitute for exterior waterproofing.
Patch the defect. Waterproof the wall. Drain the water. Protect the system.
That’s the complete approach.
Safety, Utility Tracing & Permits
Exterior foundation work involves excavation next to a building and potentially next to buried utilities.
Before digging, the work area should be checked for underground services such as:
Gas lines
Electrical services
Water lines
Sewer connections
Communication cables
Excavation safety also depends on soil conditions, depth, weather, nearby structures, equipment, and access.
Depending on the property and jurisdiction, permits, inspections, utility locating, and code requirements may apply.
A professional contractor should determine those requirements before excavation begins rather than discovering them halfway through the job.
What Does Exterior Waterproofing Cost?
There isn't one honest flat price for every foundation.
The actual cost depends on the job in front of you.
Waterproofing 15 feet of foundation is a very different project from waterproofing 100 feet.
A deep basement requires more excavation, labour, soil handling, and safety measures.
Open side-yard access is easier than working between a foundation and a fence, deck, driveway, addition, or neighbouring property.
Cracks, deteriorated concrete, damaged masonry, old membranes, and failed drainage can increase preparation and repair work.
Replacing drainage pipe or addressing window wells and groundwater management can change the scope.
Landscaping, concrete, pavers, fences, decks, and other features may need to be removed and restored.
The cheapest waterproofing quote isn’t always the cheapest option.
Repeated basement flooding can lead to damaged drywall, flooring, insulation, stored belongings, electrical components, mould remediation, and structural repairs.
In severe cases, prolonged water intrusion can contribute to tens of thousands of dollars in repair costs.
Doing the exterior work properly can reduce the chance of repeatedly paying to treat the same leak.
It can also make the property easier to market to buyers who don’t want to inherit a known foundation water problem.
The goal isn’t to make the basement look dry for a few months. The goal is to correct the water pathway.
Exterior Waterproofing After the Job
Even the best exterior waterproofing system still depends on proper surface-water management.
Don’t allow roof runoff to discharge directly beside the foundation.
Use downspout extensions to move water approximately 5–6 feet away from the house, where site conditions permit.
The ground around the home should shed rainwater away from the foundation rather than creating a low spot beside it.
Watch for settlement after backfilling.
If the soil drops and forms a basin against the wall, surface water can collect there.
Keep leaves, soil, rubbish, and other debris out of window wells.
Check that drainage isn’t blocked and that the well is not becoming a collection point for water.
A blocked gutter can dump large amounts of water beside the foundation.
Clean gutters regularly and make sure downspouts discharge where they won’t saturate the soil beside your basement.
Don't Keep Painting Over the Same Leak
If your basement wall is wet after rain, the water isn't going to disappear because you applied another coat of interior sealant.
Find where the water is getting in. Stop it outside. Repair the foundation. Waterproof the wall. Give groundwater a drainage path.
That's how you deal with the cause instead of repeatedly cleaning up the symptom.
- Areas
Areas We Serve
Book Now
- Book an Appointment
Book Your Exterior Waterproofing Inspection
If you're seeing damp walls, efflorescence, peeling paint, foundation cracks, or recurring basement water, have the foundation inspected before the next major storm exposes the problem again.
Need More Help?
Customers Support
289-514-9701
Email Us
info@ontariofoundationgroup.ca
- FAQ
Frequently Asked Questions
Exterior waterproofing costs more than interior systems due to the excavation involved, and pricing depends on the length and depth of the foundation wall being addressed. We provide free quotes with itemised pricing after a proper assessment.
Yes, ask us about warranty terms on exterior waterproofing systems when you request your free quote.
Yes, since the foundation wall is fully exposed during excavation, this is often the ideal time to address any cracks or structural concerns alongside the waterproofing work itself.
A waterproofing membrane is a protective barrier applied directly to the foundation wall to block water and resist hydrostatic pressure. Quality membrane systems are designed to last for decades when properly installed.
For chronic or severe water problems, yes, by addressing water before it reaches the foundation wall, exterior waterproofing tends to provide the most comprehensive long-term solution available.